Blog Layout
No Bake Carrot Cake
Mar 19, 2024
No Bake Carrot Cake
No need to turn on the oven. This raw, vegan & GF recipe is so versatile! Enjoy!
Ingredients:
CAKE
- 2 cups finely shredded carrots
- 2 cups packed pitted medjool dates (measured after pits removed)
- 2 ½ cups raw walnuts
- 2 tsp vanilla extract
- 1/4 tsp sea salt
- 1 ¼ tsp ground cinnamon
- 3/4 tsp ground ginger
- 1 pinch nutmeg
- 1/2 cup coconut flour (or sub almond flour)
- 1/4 cup raisins
FROSTING (optional)
- 1 ¼ cup raw cashews
- 1/2 cup coconut cream or full-fat coconut milk
- 2 Tbsp lemon juice
- 3 Tbsp maple syrup
- 1 tsp vanilla extract
Instructions
- If making the frosting (optional), soak the cashews in hot water for 30 minutes – 1 hour. Then rinse and drain. Add to a high spreed blender along with coconut cream, lemon juice, maple syrup, and vanilla and blend on high until very creamy and smooth, scraping the sides as needed. Cover and refrigerate to chill.
- Using a box grater or the grater attachment on your food processor, grate the carrots and set aside.
- To a large (at least 7-cup) food processor, add the pitted dates and blend until small bits remain or a ball forms. Remove from food processor and set aside. (Smaller food processors can be used – the ingredients just need to be blended in batches as to not overflow the bowl.
- To the food processor, add the walnuts, vanilla, salt, and spices. Blend until a semi-fine meal is achieved. Then add dates back in, along with shredded carrots, and pulse in 1-second measurements until a loose dough forms and the carrots are just incorporated. Be careful not to over-blend. You’re looking for a pliable dough, not a purée.
- Transfer mixture to a large mixing bowl. Add coconut flour and raisins and stir to combine. By mixing gently as opposed to blending in a food processor, you can keep a lighter, less dense, more “cake-like” texture. Once well combined, set aside.
- Prepare a 7-9 inch springform pan (or large cake pan or an 8×8-baking dish with high edges) or a silicon mould by adding parchment paper along the bottom and sides. Then add the cake mixture, and spread and press down evenly to pack. Use a flat-bottomed object, such as a drinking glass, to help press everything into an even layer. If the mixture sticks to the glass, wrap it in parchment paper. (NOTE: You could also scoop and roll these into balls to enjoy as cake bites!)
- At this point, you can enjoy the cake by carefully lifting or sliding the cake out of its pan. However, if adding the frosting, pour the frosting on and tap out any air bubbles. Then place on a baking sheet (to keep level) and freeze for 3-4 hours or until the frosting is semi-firm to the touch.
- To serve, make sure the cake isn’t fully frozen so it’s soft enough to cut (letting it thaw on the counter for 30 minutes should help). Then use a hot knife to carefully cut out slices and enjoy. Garnish with more nuts, raisins, or other desired toppings (all optional).
- Store leftovers covered in the refrigerator up to 1 week or in the freezer up to 1 month. It's best enjoyed slightly chilled (not frozen). You can let it sit out at room temperature up to 2 hours, but the frosting can begin to get soft.
Other recipes/blogs you might be interested in
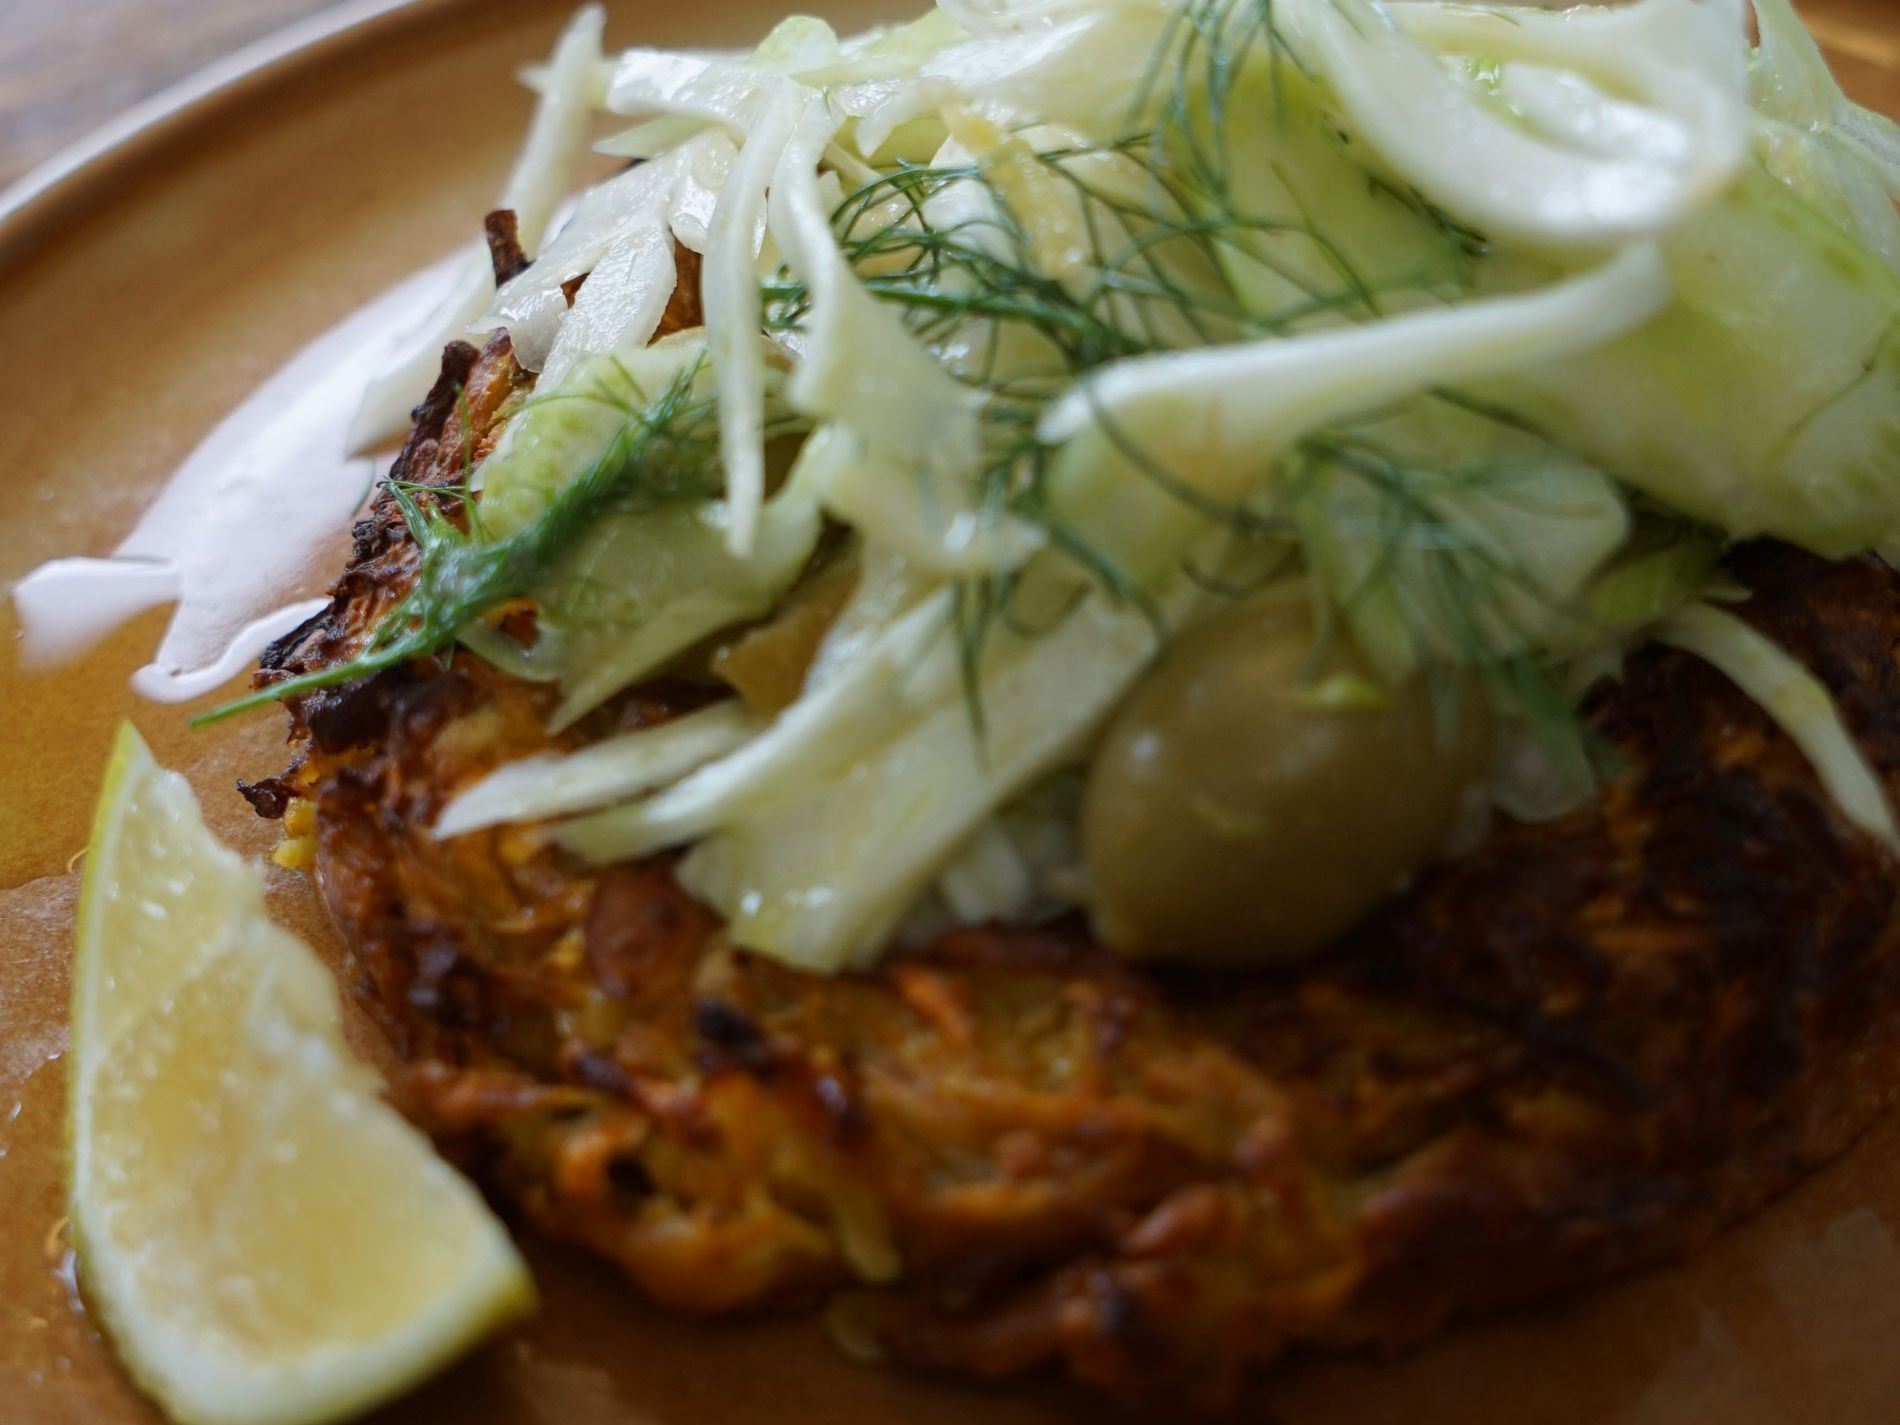
CRISPY CARROT HALOUMI ROSTI with fennel, celery and green olive salad

Liz's Sourdough Hot Cross Buns